Bluehost Web Hosting Help
Enable Non Legacy Backup on Dedicated or VPS Servers
Overview
This article will explain how to configure your dedicated or VPS server to use the new (non legacy) backup system. This is useful if you want the backup tools on your cPanel accounts to access the server backups.
Click on any of the sections to jump to that point in the guide.
- What You Need
- Login to the WHM
- Disable Legacy Backups
- User Selection
- Enable the new Backup Configuration
What You Need
- The password for the root user so that you can login to WHM.
Login to the WHM
You will need to be able to login to WHM on your server. This requires knowing the root password for your server. If you don't know the root password or haven't set one up, please see https://my.Bluehost.com/hosting/help/whm-login#root-password.
- Login to the WHM by going to yourdomain.com/whm in a browser. Replace yourdomain.com with your domain name.
- Once you get to the login page, enter your username and password.
- Username will be root.
- Password will be the root password for your server. If you don't know the root password or haven't set one up, please see https://my.Bluehost.com/hosting/help/whm-login#root-password.
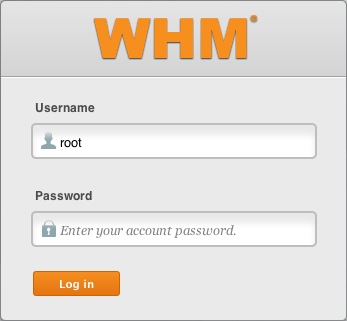
The WHM login page. - You may see a page titled "Feature Showcase". If so, click on Exit to WHM at the bottom of the page.
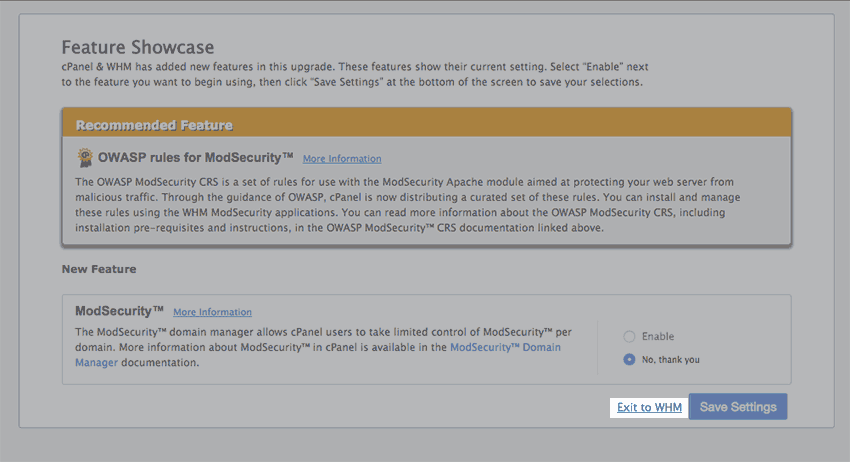
The Feature Showcase page with "Exit to WHM" spotlighted.
Disable Legacy Backups
- In the search bar on the top left side of the WHM, type Backup.
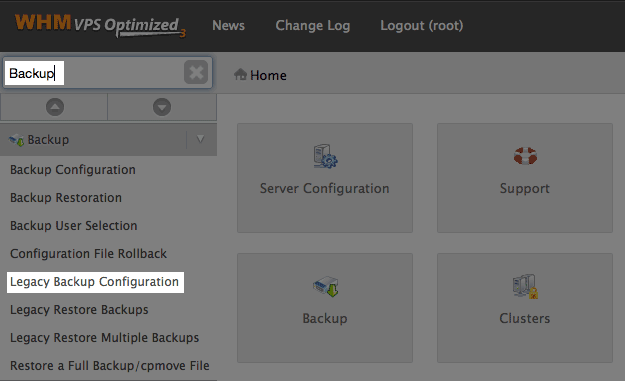
Searching Backup in the WHM. - In the search results, click on Legacy Backup Configuration
- Change Backup Status to Disabled

Disabling Legacy Backups. - Click the Save button at the bottom of the screen.

The Save button.
User Selection
- In the search bar on the top left side of the WHM, type Backup.
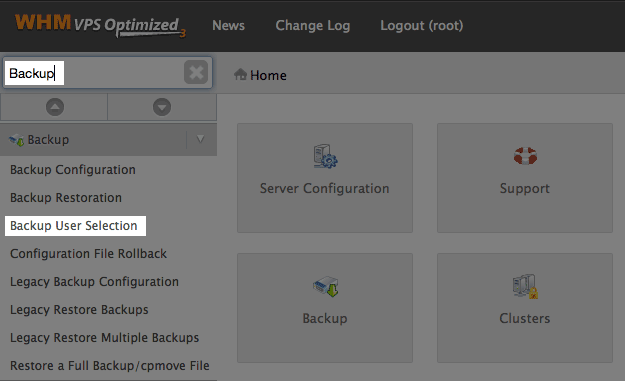
Searching Backup in the WHM. - In the search results, click on Backup User Selection
-
Turn Legacy to Off and Backups to On.
Note: If you have multiple accounts, you can turn them all on or off at once using the checkbox to the right of the page navigation.

Selecting backups for users.
Enable the new Backup Configuration
- In the search bar on the top left side of the WHM, type Backup.
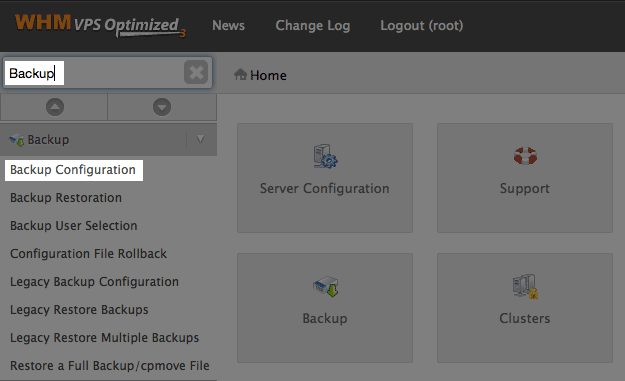
Searching Backup in the WHM. - In the search results, click on Backup Configuration
- Change Backup Status to Enable

Disabling Legacy Backups. - Click the Save button at the bottom of the screen.

The Save button.
You have now configured your server to use the new backup system.
 136,680 views
 bookmark
 share
share
 tags: backup dedi dedicated vps
Recommended Help Content
Error Code 500 on Dedicated and VPS Servers
This article will explain some common causes for 500 errors on Dedicated or V.P.S servers.
Unable To Open Backup on Dedicated or VPS
How to fix inaccessible backups on Dedicated or VPS servers due to backup size.
VPS and Dedicated Hosting: Enabling FTP on New Servers
This article will explain how-to enable FTP on a newly provisioned VPS or Dedicated cPanel server. Since FTP is an unsecured connection point to the server, cPanel has it disabled by default in version 11.86 or prior.
Related Help Content
VPS and Dedicated Hosting: Restore or Transfer cPanel
If you need to transfer or restore a cPanel account for your VPS or Dedicated server, there is a tool within the WHM panel to perform these tasks. This article is about transferring or restoring from another server or restoring after a re-image.
Check Backup Dates Using SSH on Dedi/VPS
This article will explain how to check the dates of your backups using SSH.
Managing Users on a VPS or Dedicated Server
This article will explain how to create and manage users on Dedicated or VPS servers.
Clearing the Mail Queue on VPS and Dedicated Servers
This article will explain how to clear the outbound mail queue on a dedicated or VPS server.
Restarting Mail Services on Dedicated or VPS Servers
This article will explain how to restart the email related services on a Dedicated or VPS server. This may be useful if you are experiencing trouble with your email.
Access Mail Logs on Dedicated or VPS Servers
This article will explain how to view the email logs on a Dedicated or VPS server. This may be usefull if you are experiencing trouble with your email.
VPS or Dedicated Hosting - Using Multiple cPanel Accounts To Set Custom Nameservers
How to setup name servers for multiple cPanel accounts.
VPS and Dedicated Hosting: Third Party Applications
VPS and Dedicated servers come with all applications necessary to run a standard web and email server. The applications that come with the VPS and Dedicated servers are generally supported as-is by our support technicians.


 E-mail
 Twitter
 Google Bookmarks
 Facebook
 MySpace
 Digg
Digg Reddit
 Delicious
 LinkedIn
 StumbleUpon